Today’s best designers are more than creators; they’re facilitators. In an increasingly multidisciplinary, collaborative, and creative process that includes many participants, they act as conductors who align and inspire the team to give their best. UX workshops are probably one of the best ways to put this into practice. The rise of ideologies like Design Thinking, Lean UX, and Design Sprints have turned UX workshops into a necessity, and for designers, the ability to facilitate a design workshop is a highly desirable skill. A UX workshop consists of inviting your team (other designers, developers, product managers, etc.) into a conference room, putting together an agenda around a goal (e.g., prototype a new product functionality), and coming up with some collaborative techniques, like brainstorming and sketching. You will achieve better results by doing this than by trying to manage everything yourself—and as an added bonus, cultivate a more engaged, motivated team.
Imagine doing this with remote team members across a wide geographic area with no face-to-face communication in a situation where technical issues are very likely to occur. If conducting a design workshop with a co-located team (everyone in the same physical place) is already challenging, its remote version can be a real frustration and a waste of time if you ignore critical, tried-and-true facilitation techniques. Let’s look at some time-tested practices that will help make a remote UX workshop run smoothly. We’ll also look into what happens before, during, and after, and some of the pitfalls you should look out for. So, what do you do before the workshop?
Define participant roles and get help
Planning and facilitating a remote design workshop requires preparation and collaboration. It’s a good idea to delegate some tasks to others. This will help avoid bottlenecks and any unpleasant surprises during the workshop—like having to collect notes and explain the next steps simultaneously. There are two roles that work together in the running of a remote UX workshop: the workshop leader and the local assistant:
The workshop leader and facilitator
This is the person (most likely you) who, among other things, will “run the show,” manage workshop collaboration and timing, set the pace for the activities, and keep participants engaged. Your primary mission is to help the team be productive and keep the workshop flowing. Be a servant leader. Depending on the remote workshop technique, you can also participate (for instance, you could lead a prototyping session and sketch at the same time).
The local assistant
Given that the facilitator can only be in one place at a time, each of the remote locations should have a local assistant who can contribute along with the rest of the team. It’s important to have someone on the other side to:
Take care of logistics (book a conference room, schedule the workshop with the participants, etc.) Arrange the room and set up the remote tech (see below) Get materials and supplies (Sharpies, Post-its, notepads, etc.) Help to run the workshop
Set up the room and test the tech in advance
Nothing is more frustrating than having a great discussion or idea generation interrupted by a lost connection, a screen sharing glitch, an excessive echo in the room, or the realization that you can’t see the details of the sketch your colleague did on paper and is fruitlessly positioning in front of the camera for you to view and give feedback on. This list can be a long one. Despite the fact that a remote UX workshop’s ultimate performance greatly depends on the tech and the room, many of us still take for granted that it will all work out. This assumption can be dangerous. While it’s probably not possible to run a perfect UX workshop, with a bit of planning and enough testing, you can avoid most of the negative surprises. Make sure that you have: Finally, once you’ve checked the above items on your list, be sure to test everything well before the workshop. Then, test again if you can.
Be realistic when facilitating a UX workshop
Plan ahead with your local assistant and decide which workshop techniques and tools you will use for the results you want to achieve.
Now, what should you do during the workshop?
Balance digital and physical tools
One of the most difficult challenges when running a remote UX workshop is to find an ideal mix of digital and physical tools. It’s a delicate balance, as both have their advantages and disadvantages; one needs to choose wisely. The goal is to keep the workshop flowing while efficiently processing the data stream (content) it generates. You want the team to generate ideas quickly, but you also want to get the most out of those ideas by processing them in a way that achieves maximum productivity (grouping, merging, splitting, prioritizing, etc.). Here are two different strategies for this combination:
Workshop approach 1: Mostly non-digital artifacts
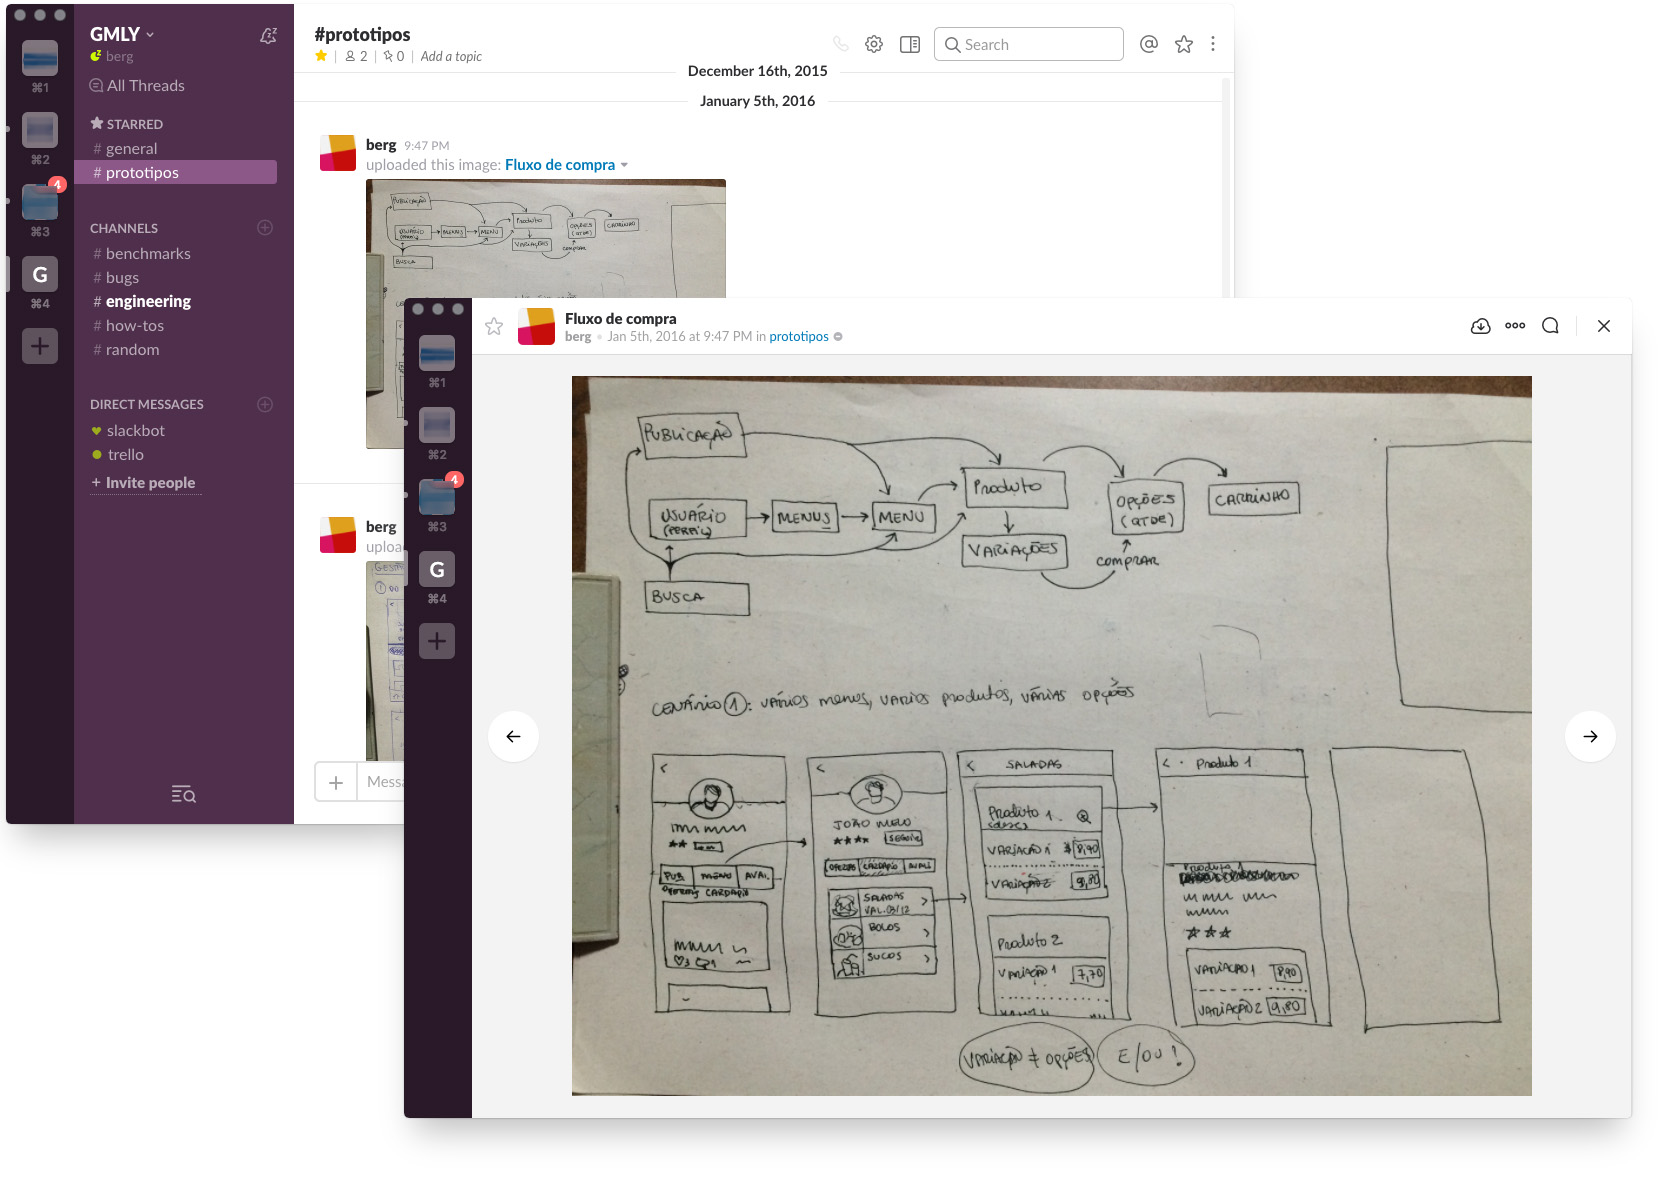
This approach applies when creating most artifacts “analogically” by using pen+paper and digitizing it later by scanning or taking photos. This approach is most appropriate when: For example, in a workshop concept called “design studio,” session participants can quickly sketch by hand, capture images with their mobile and share via Dropbox or Slack. Another example is a short ideation session where you have just a few Post-its to prioritize (less than 20), and someone can quickly type the Post-it notes into a spreadsheet for easier sorting and prioritization. Naturally, there are some drawbacks to this approach:
Workshop approach 2: Mostly digital artifacts
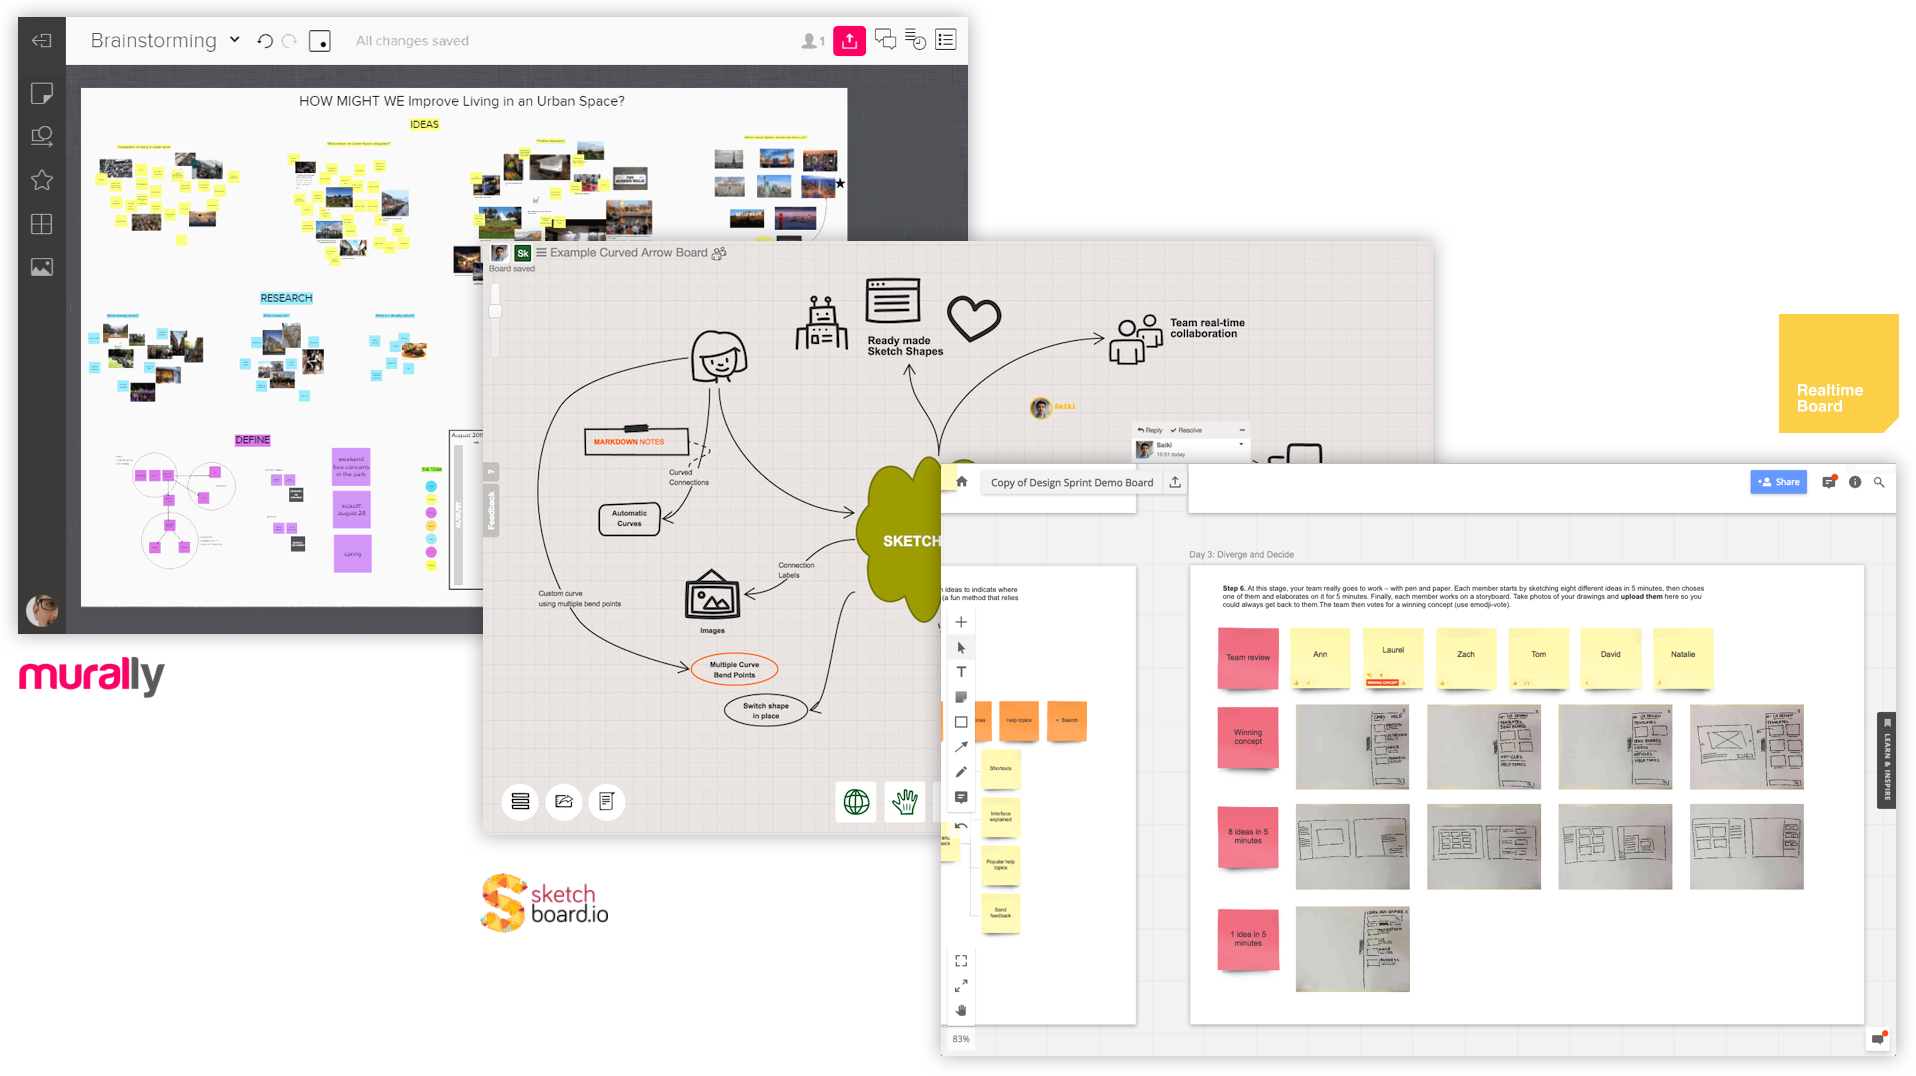
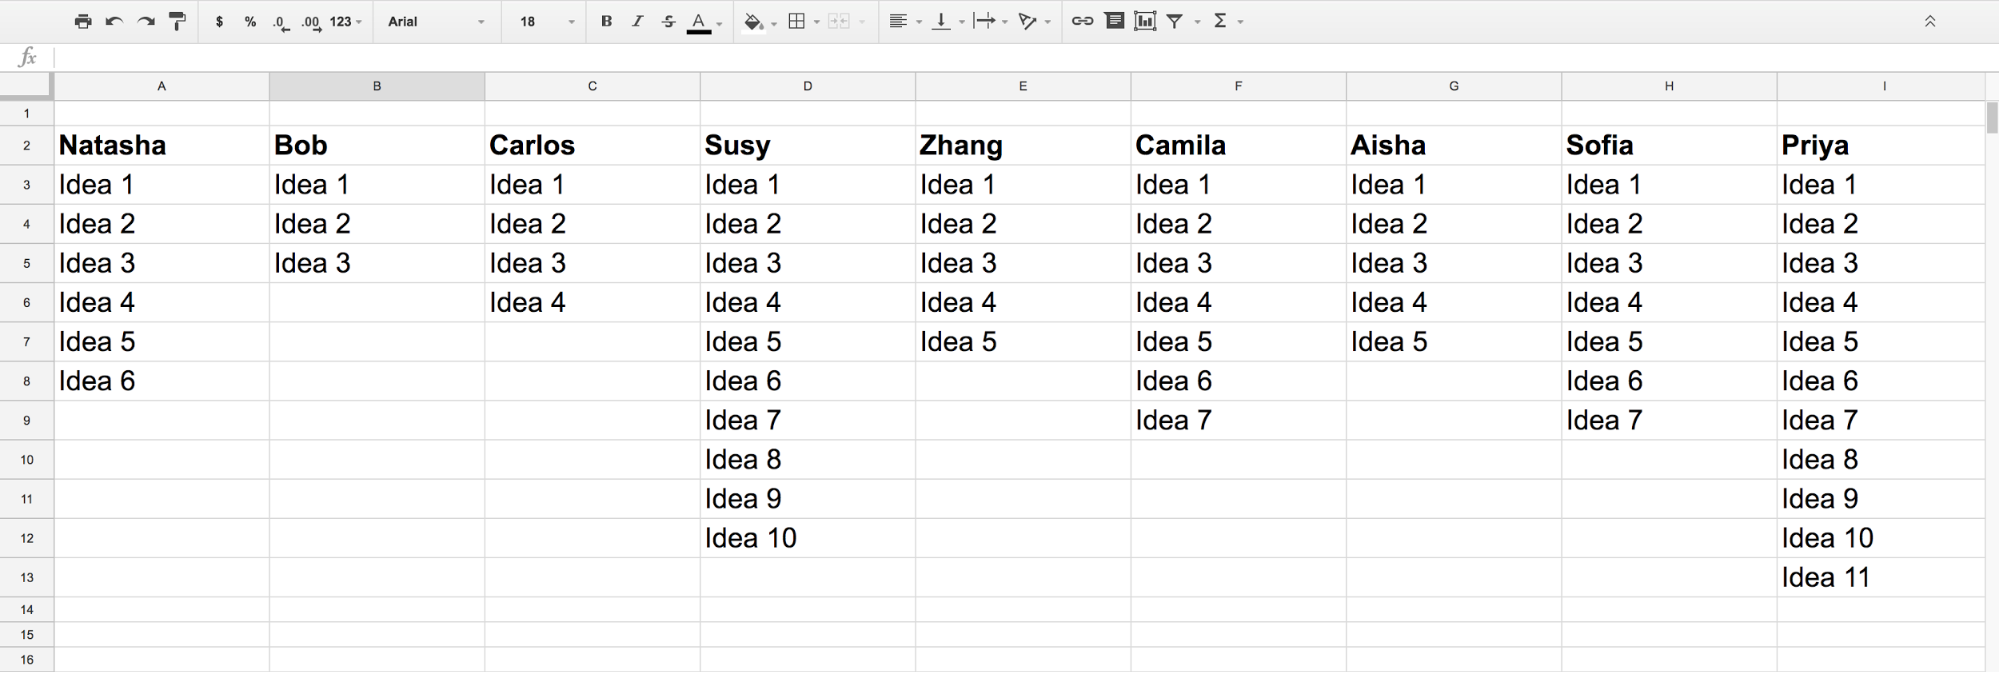
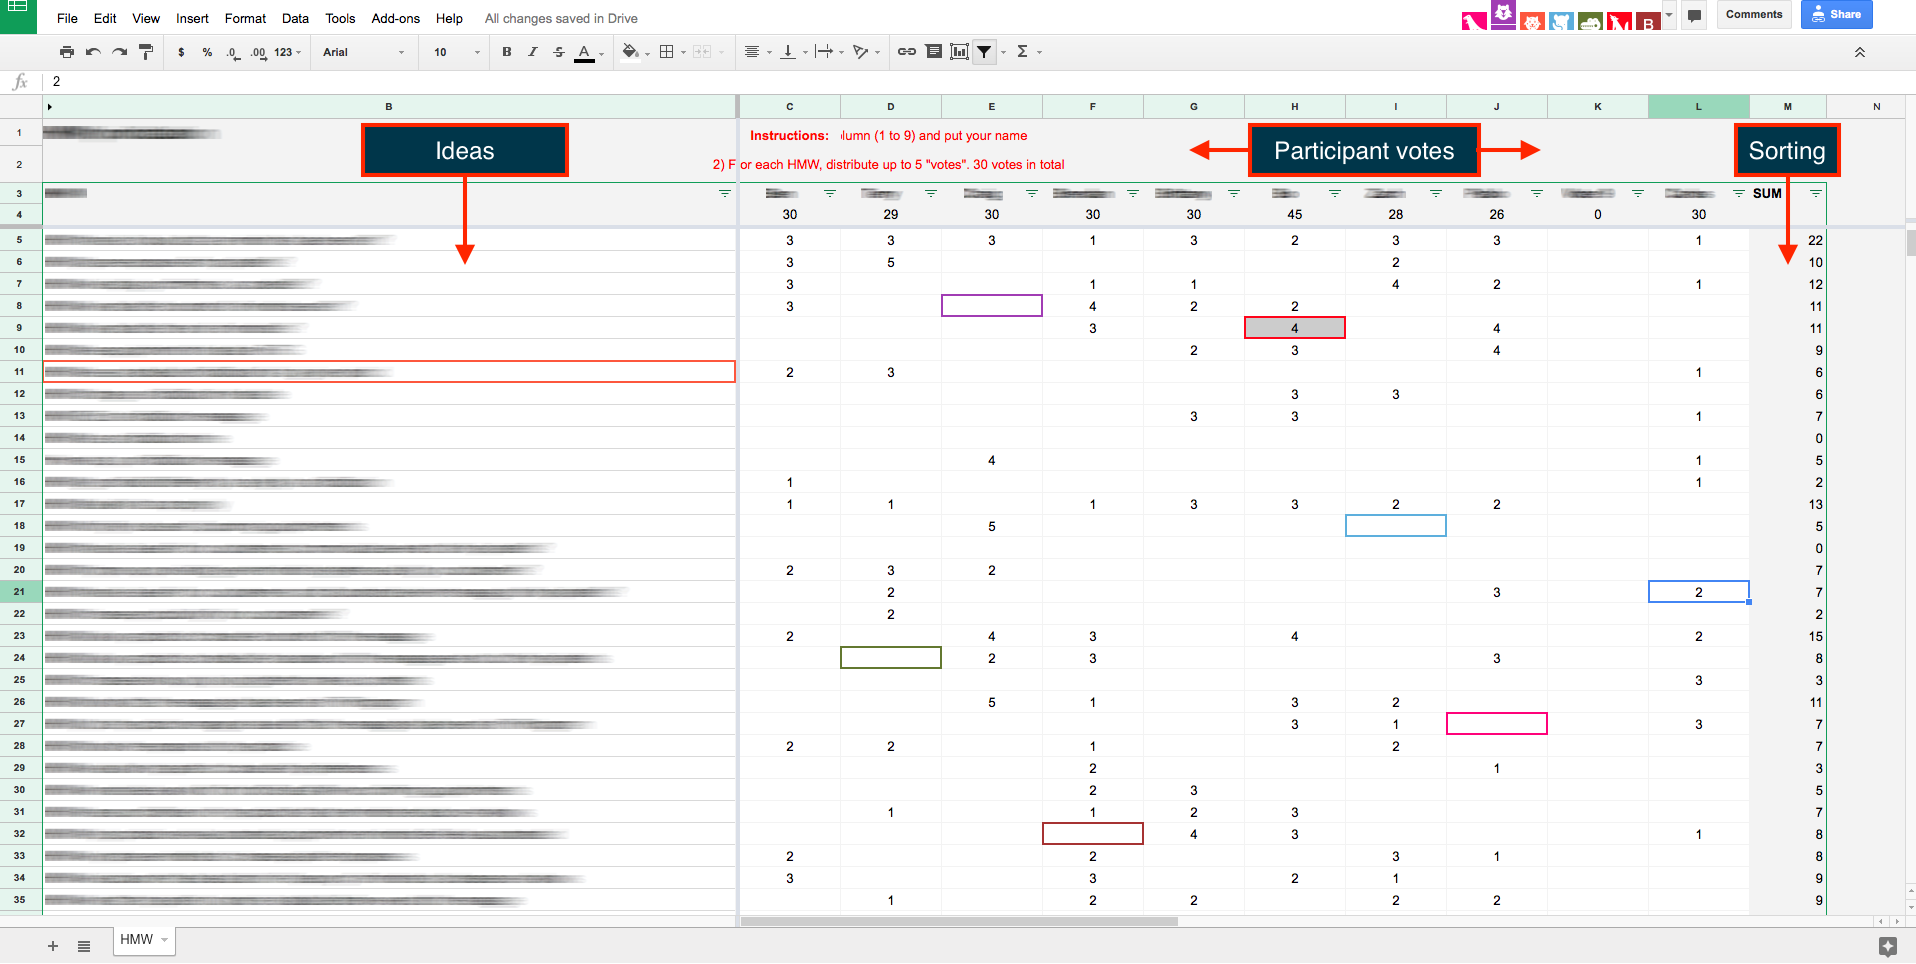
Use this approach when using digital tools to create and manage workshop generated content (like virtual boards and online spreadsheets). This approach is most appropriate when: A good example for using this workshop approach is when the team is creating affinity diagrams, empathy maps, or user journeys using virtual boards. Another scenario that works with this approach is when you need to collect ideas in ideation sessions. Instead of Post-its on the board (physical or virtual), you can use a shared online spreadsheet where each participant types their ideas into the spreadsheet’s cells (see below). You can also speed up the process of selecting and prioritizing ideas during brainstorming sessions with the use of automatic calculation and sort features. In the example below, the team needed to choose the best ideas from more than 40 they had brainstormed previously. The spreadsheet allowed voting for the best ideas and automatically sorted the list by the number of votes. The whole process took less than 8 minutes.
Workshop participants voted for ideas (column B) by entering points on a scale of 5 to 1 in their assigned columns (columns C to L). The spreadsheet then calculated the total points (votes) for each idea allowing the facilitator to sort the results quickly (column M). Typical disadvantages of this strategy are:
A practical example
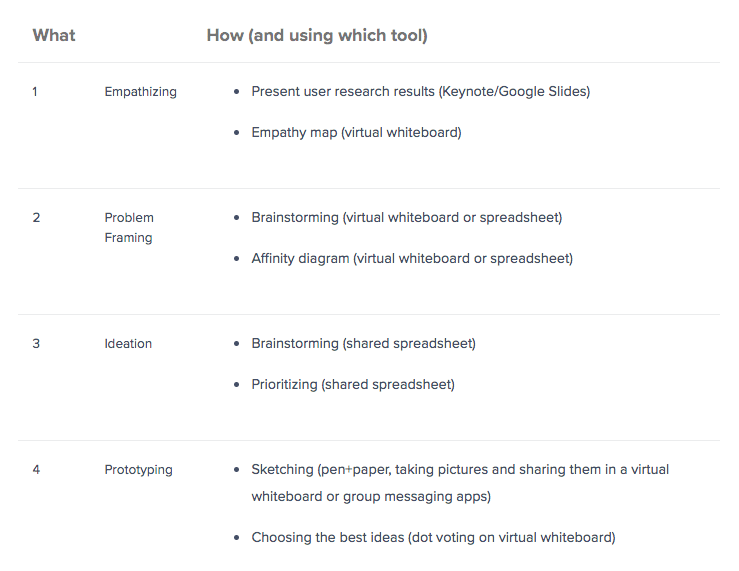
We discussed two UX workshop approaches (1: mostly physical, and 2: mostly digital); in the “real” world, you can use a hybrid approach and mix aspects of both. Let’s imagine a one-day design workshop for which we could apply the following method (considering everything is done via video conference):
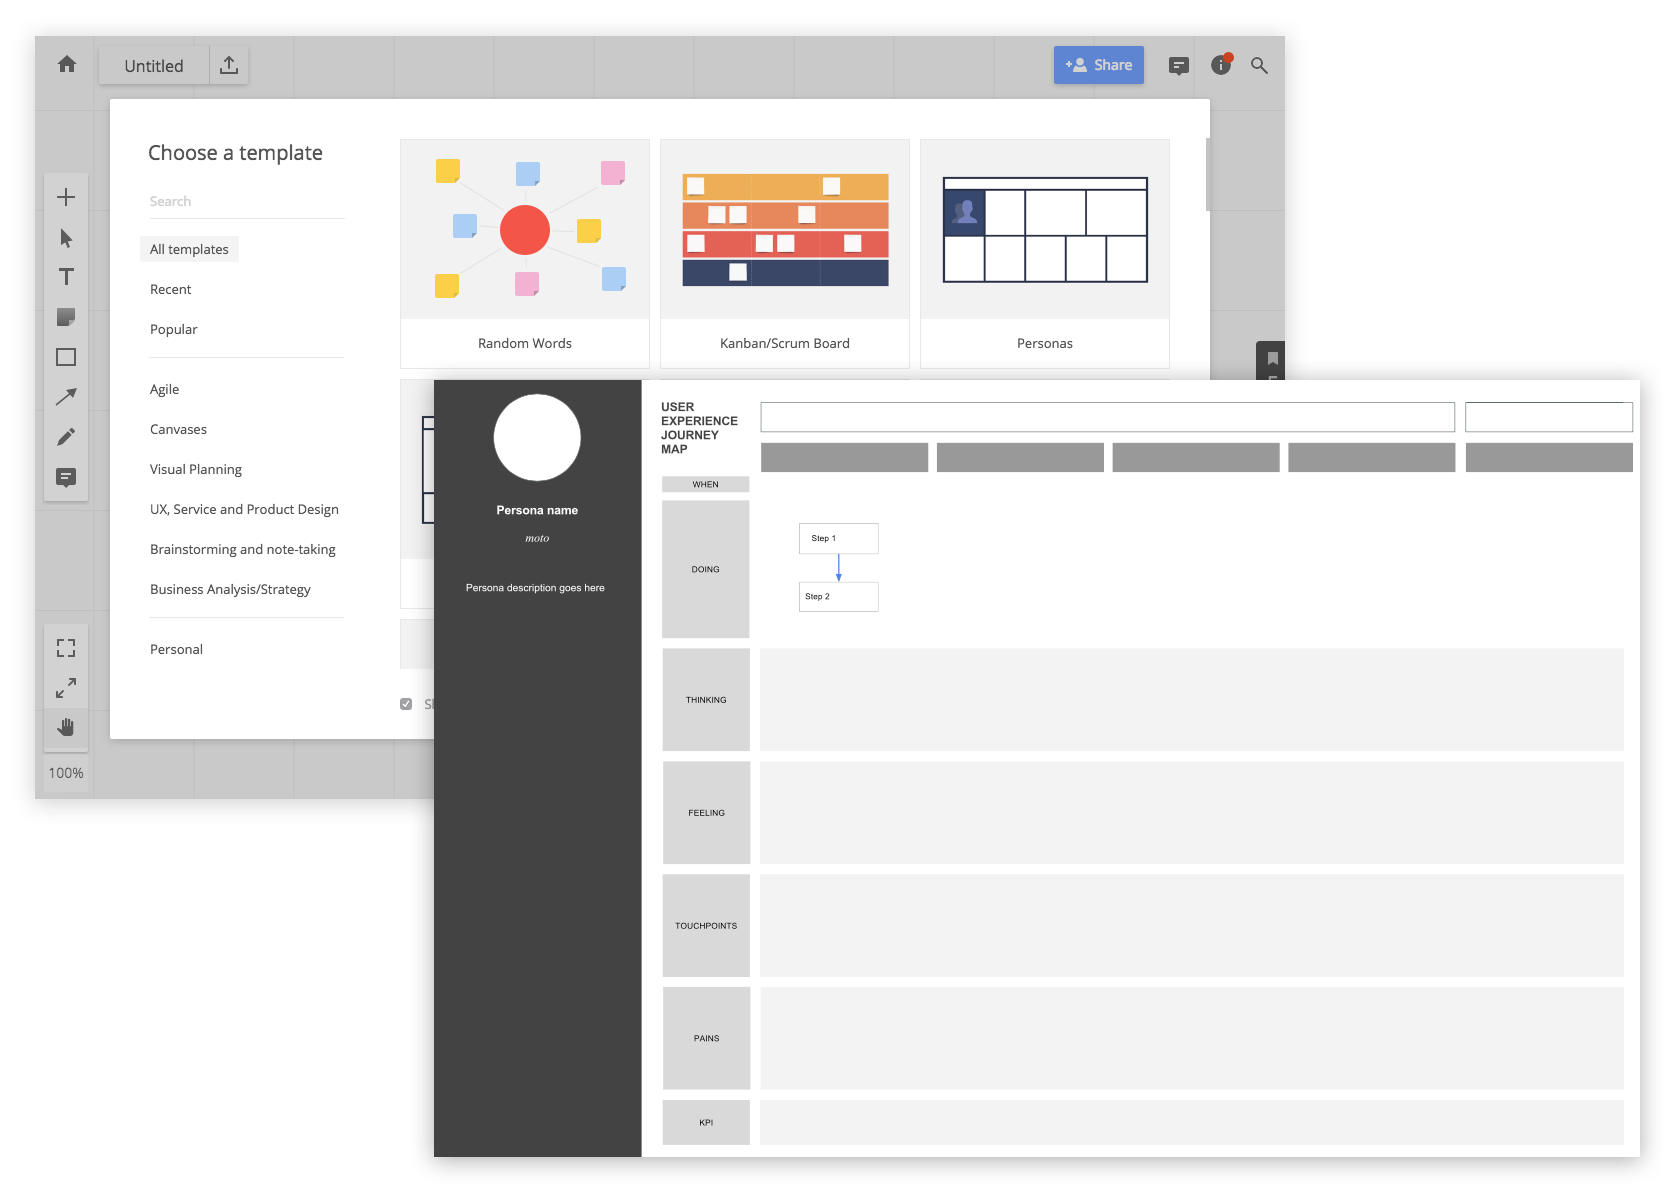
Be sure to have everything ready-to-use when the workshop starts: templates, pre-filled documents, virtual boards, etc. Prepare diligently and don’t waste everyone’s time by setting up in front of them.Speed up the work with templates Here’s what to do after the workshop:
Get feedback, evaluate, and improve
It’s a good idea to get feedback from your team after the workshop and identify areas that could be improved. The best time to do this is right after it is over because everything will still be fresh. For instance, as a result of the extensive use of technology in the case of a mostly digital approach, many pitfalls and potential glitches invariably surface—discussing why they occurred and how to circumvent it happening again is of great benefit to any team. Before the workshop, prepare a short anonymous online survey and send the link to participants right after the workshop. Be sure to track each aspect as a separate section (equipment and techniques used, communications, remote tech, software, workshop duration, etc.) and let the team leave comments, not just rate or check boxes. There are many other ways to get post-workshop feedback—like asking the team to put post-its on a wall with comments (physical or virtual), or doing one-on-one interviews. Choose the one that suits you best but don’t lose the opportunity.
Take care of your digital artifacts
The assets generated during the workshop are useful not only while it is in progress but can be used for further discussion or as a starting point for other workshops. In a traditional (or mostly non-digital) approach, it is very likely you will end up with piles of post-its, handwritten notes, and sketches. If this is the case, a good practice is to keep at least the most important artifacts until you are sure you can let them go. You also have the option to digitize them (take pictures, tabulation to spreadsheets, etc). In a mostly digital approach, you won’t have as much paper to deal with, but the digital artifacts generated will still need to be organized, sorted, and filed away in some kind of a system. It’s best not to leave a messy list of incomplete, abandoned files that will cause headaches in the future—invest some time right after the workshop to organize them. You can do this in two ways:
Wrap-up
Using different techniques and tools, remote UX workshops can deliver the same results as co-located workshops. If done right, the productivity benefits boosted by digital collaboration tools offsets the lack of face-to-face discussion. Planning and running a remote UX design workshop isn’t rocket science, but the many complex details and potential pitfalls demand attention. Despite meticulous preparation, it is unlikely you’ll get everything right on the first try. The best thing to do is to chill out, have fun with your team, and remember—every workshop represents an opportunity for learning, and the next time is always an improvement! The Toptal Design Blog is a hub for advanced design studies by professional designers in the Toptal network on all facets of digital design, ranging from detailed design tutorials to in-depth coverage of new design trends, tools, and techniques. You can read the original piece written by Carlos Rosemberg here. Follow the Toptal Design Blog on Twitter, Dribbble, Behance, LinkedIn, Facebook, and Instagram.

